목표
1. 클라이언트에서 이미지를 선택해 저장을 누르면
2. 서버를 통해 S3에 저장된다
목차
1. S3버켓 만들기 및 서버 코드 작성하기
2. 서버와 클라이언트 연결하기
3. 클라이언트 로직 구현하기
1. S3 버켓 만들기 & 연결되는 서버 코드 작성하기
- 아래 링크에서 확인할 수 있다
- https://sangddong-back.tistory.com/59
2. 서버와 클라이언트 연결하기
(1) 서버 코드 수정
- cors 설정하기
- 포트를 클라이언트와 겹치지 않도록 설정하기 (필자는 서버 3001, 클라이언트 3000으로 설정했다)
// main.ts

import { NestFactory } from '@nestjs/core';
import { AppModule } from './app.module';

async function bootstrap() {
  const app = await NestFactory.create(AppModule);

  // cors설정
  app.enableCors({
    origin: true,
    credentials: true,
  });

  // 포트 설정
  await app.listen(3001);
}
bootstrap();
(2) 클라이언트 설정
- 서버 url을 .env에 설정한다. 이때 변수값을 꼭 NEXT_PUBLIC_SERVER_URL로 설정해야 한다
// .env

NEXT_PUBLIC_SERVER_URL = `http://localhost:3001`
- axios로 서버 코드와 연결
// src/app/api/index.ts

import axios from "axios";

export const server = axios.create({
  baseURL: process.env.NEXT_PUBLIC_SERVER_URL,
  withCredentials: true,
});

export async function uploadImage(formData: any) {
  await server.post("/upload-image", formData);
}
3. 클라이언트 로직 구현
// src/app/profile/page.tsx
"use client";
import React, { useRef } from "react";
import { uploadImage } from "../api";
function ImageUploadPage() {
// 파일 초기 설정, 타입은 HTMLInputElement
const profileImageInputRef = useRef<HTMLInputElement>(null);
const homeImageInputRef = useRef<HTMLInputElement>(null);
// 이미지 제출 폼 로직 작성
const handleSubmitForm = async (event: React.FormEvent<HTMLFormElement>) => {
event.preventDefault();
// 파일이 있으면 설정해주고, 없으면 null값 삽입
const profileImage = profileImageInputRef.current?.files
? profileImageInputRef.current?.files[0]
: null;
const homeImage = homeImageInputRef.current?.files
? homeImageInputRef.current?.files[0]
: null;
// FormData 초기화
const formData = new FormData();
// 해당하는 필드에 값을 각각 넣어주기
if (profileImage) {
formData.append("profileImage", profileImage);
}
if (homeImage) {
formData.append("homeImage", homeImage);
}
// 서버 로직과 연결
await uploadImage(formData);
alert("완료되었습니다.");
};
return (
<form onSubmit={handleSubmitForm}>
<div id="profileImage">
<span>프로필 이미지 선택</span>
<input
title="choose-profile-image-file"
type="file" /* 타입은 file */
accept="image/*" /* 받을 파일을 이미지로 제한 */
ref={profileImageInputRef}
/>
</div>
<div id="homeImage">
<span>홈 이미지 선택</span>
<input
title="choose-home-image-file"
type="file" /* 타입은 file */
accept="image/*" /* 받을 파일을 이미지로 제한 */
ref={homeImageInputRef}
/>
</div>
<button title="upload-images" type="submit">
저장하기
</button>
</form>
);
}
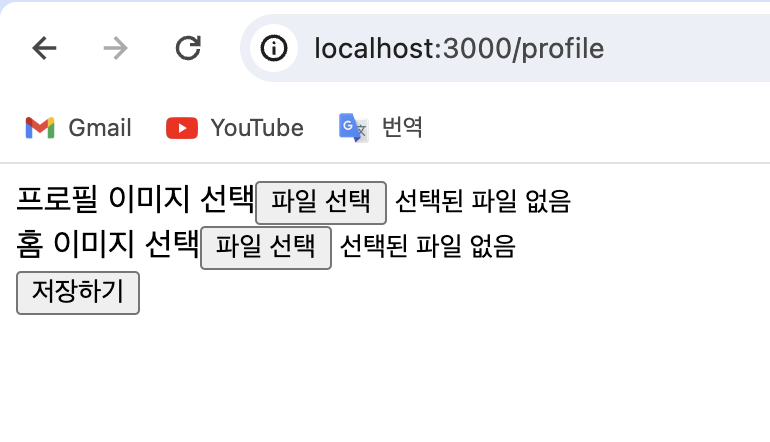
export default ImageUploadPage;- 아래와 같이 화면이 구성되고
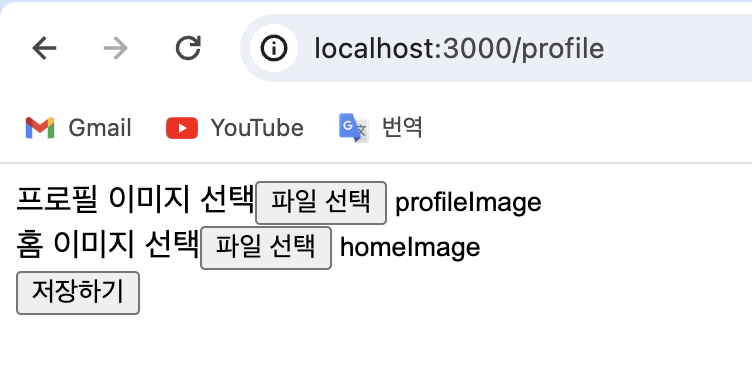
- 파일을 선택하면 아래와 같이 표시된다 (파일이름은 필자가 저렇게 만들었음)
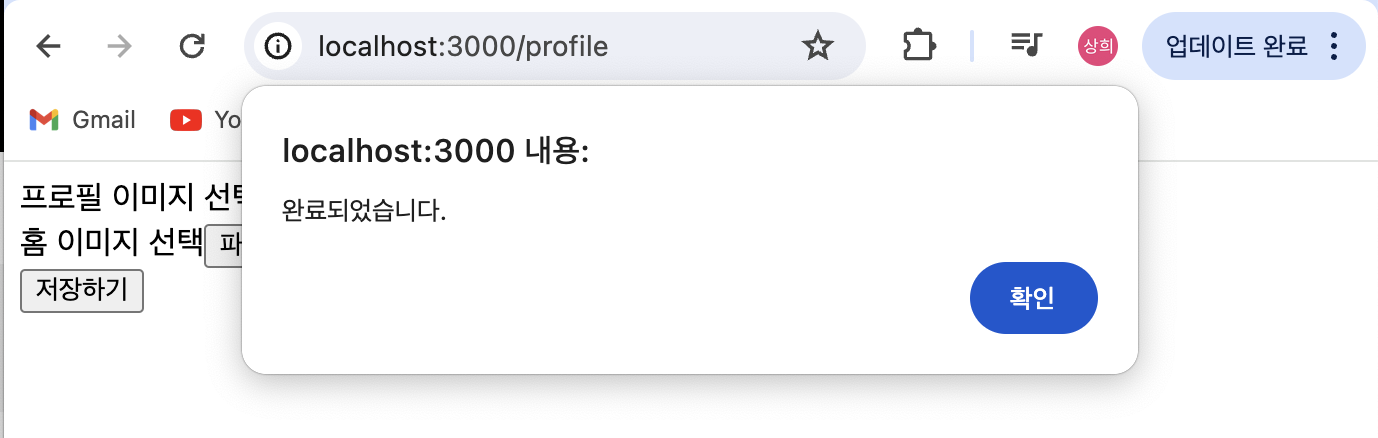
- 저장하기 버튼을 누르면 alert 뜨고
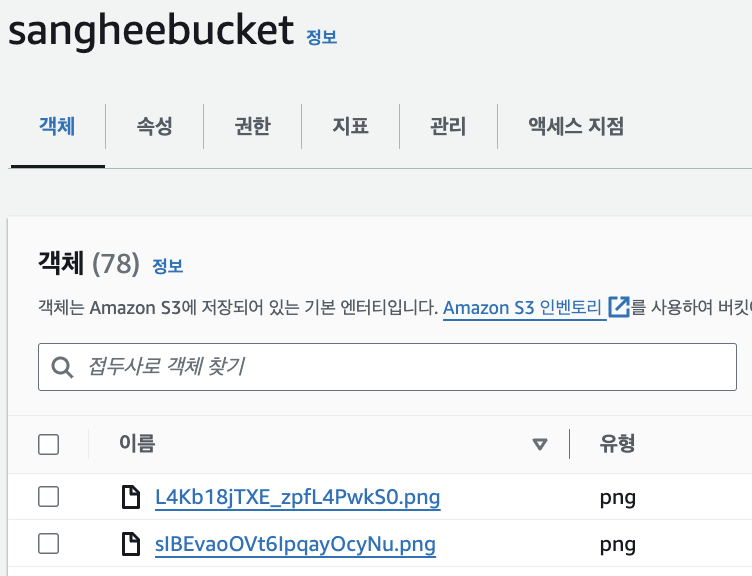
- S3확인하면 이미지 업로드된 것을 확인 (원본 파일명 노출을 방지하기 위해 서버에서 파일 이름을 nanoid를 통해 바꾼다)
끝!
'Next.js' 카테고리의 다른 글
| [Next.js] 페이지네이션 구현하기, 무한스크롤 (react-query) (0) | 2024.07.04 |
|---|---|
| [Next.js] 페이지 기반 페이지네이션 구현하기 (react-query) (0) | 2024.07.04 |
| [Next.js] Modal 구현하기 (0) | 2024.06.25 |


